Article by: Hunter Etherington
 As the new year was approaching I realized I was talking a lot about how much I love DIY projects, but I have never really tried one of my own. So I decided that in the new year I was going to build my own custom costume. While playing Skyrim, I have spent a lot of time using the zoom function in the inventory to examine nearly every item I have picked up. While doing so I noticed that some of the items would be fairly easy to replicate. In particular, the guard outfits seemed like the easiest and would work as a good costume, especially if I placed an arrow in my knee.
So last weekend I started working on the shield portion of the outfit. For anyone who would want to know how to make it themselves I will outline my steps each week.
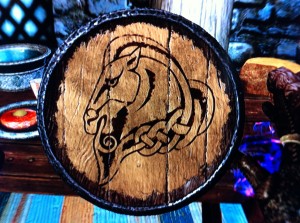
This is what the shield looks like.
When looking at the shield I realized I could make it with only a few materials that can be picked up at any hardware store.
Materials:
- 2 Pine boards 6x1x4 feet
- wood glue
Tools:
- scroll saw or jigsaw
- table saw or circular saw
- clamps or duct tape
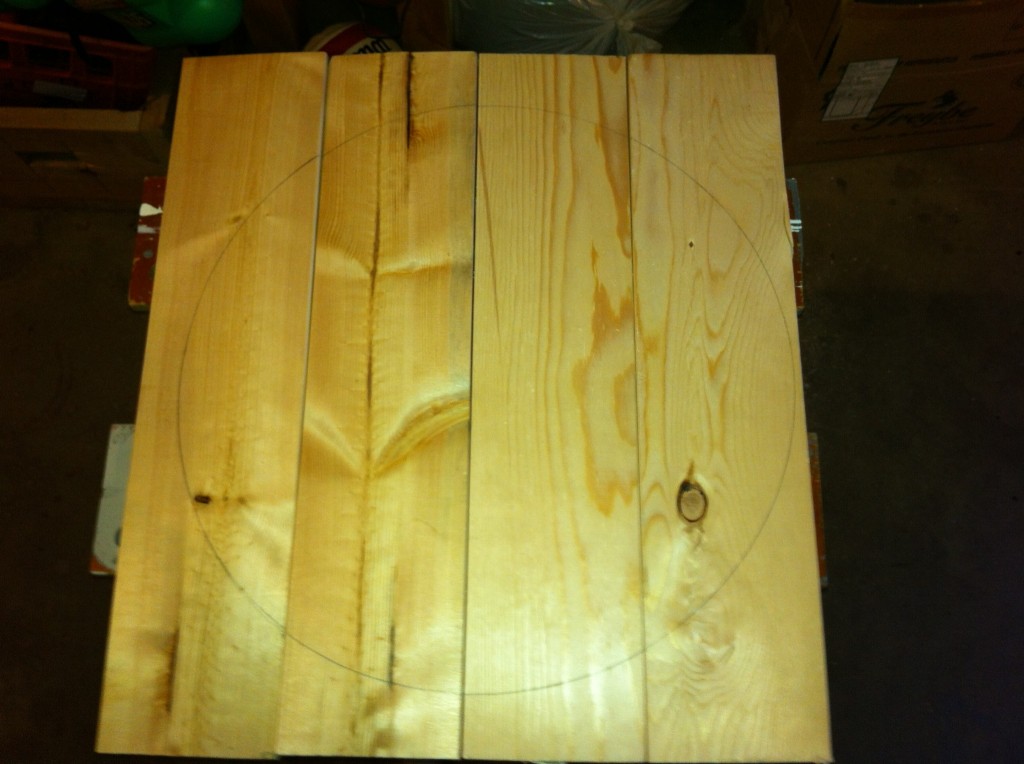
I had previously estimated that the maximum diameter of the shield was going to be around 2 feet. The first thing I did was saw the two boards in half to create four two foot long pieces. When laid out side-by-side it creates a two foot by two foot square. From there, I was walking around my parents’ garage trying figure out what was the best way to create the circle I needed to cut out. I found an old garbage can lid which ended up being the perfect size for the final shield so I traced it onto the boards.
To cut it out I was thinking of using a jigsaw but I found that a scroll saw was much easier to create the shape I needed. It wasn’t perfect, but I will be covering the edge eventually anyway.
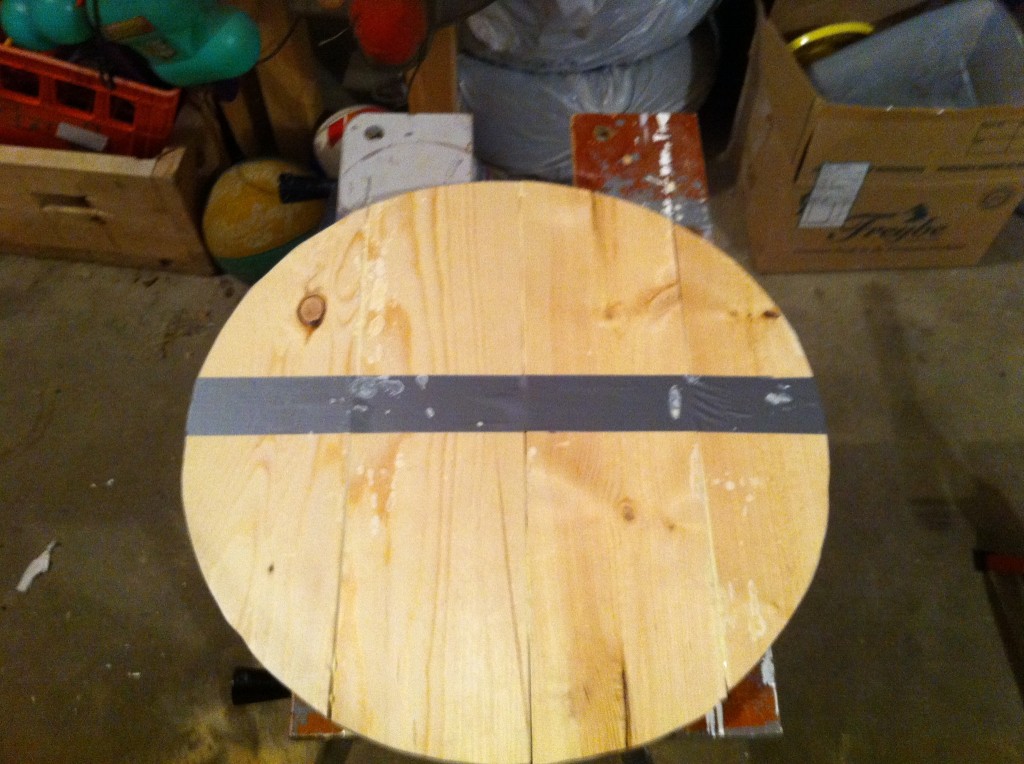
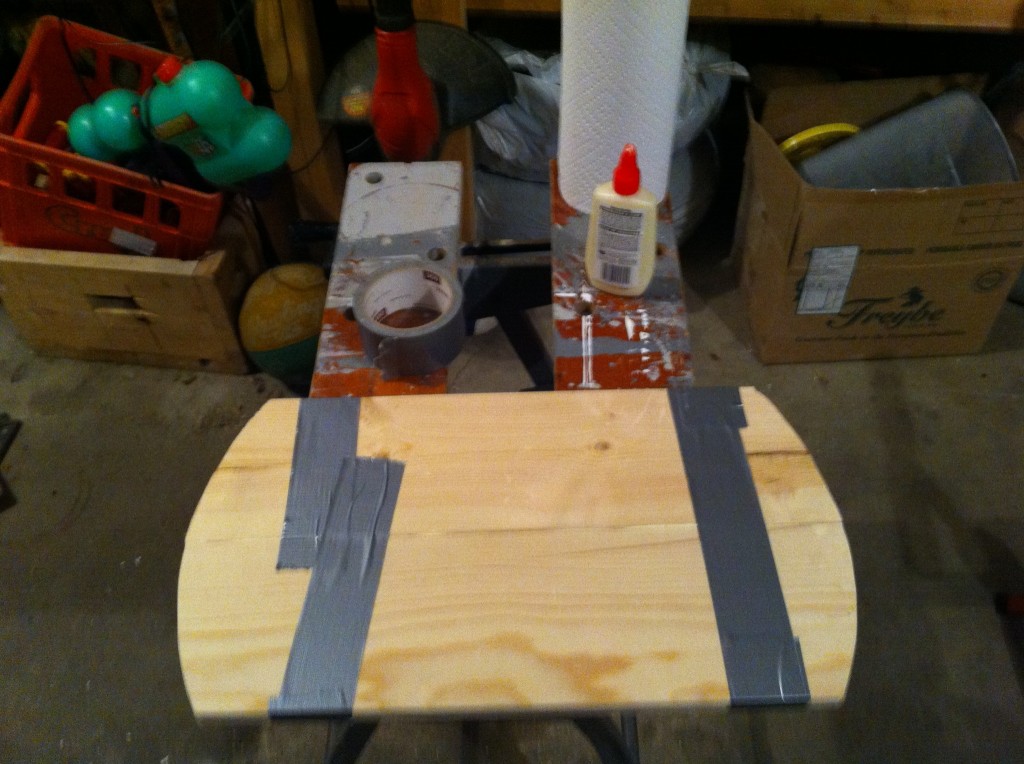
After the pieces were cut out I had to decide what was the best way to fasten it together while making sure it looked like it’s from the game. I found it best to just use wood glue as to avoid any visible hardware. When I started to get ready to glue the pieces together I couldn’t find my clamps so I ended up having to use duct tape. It was crude, but it worked really well.
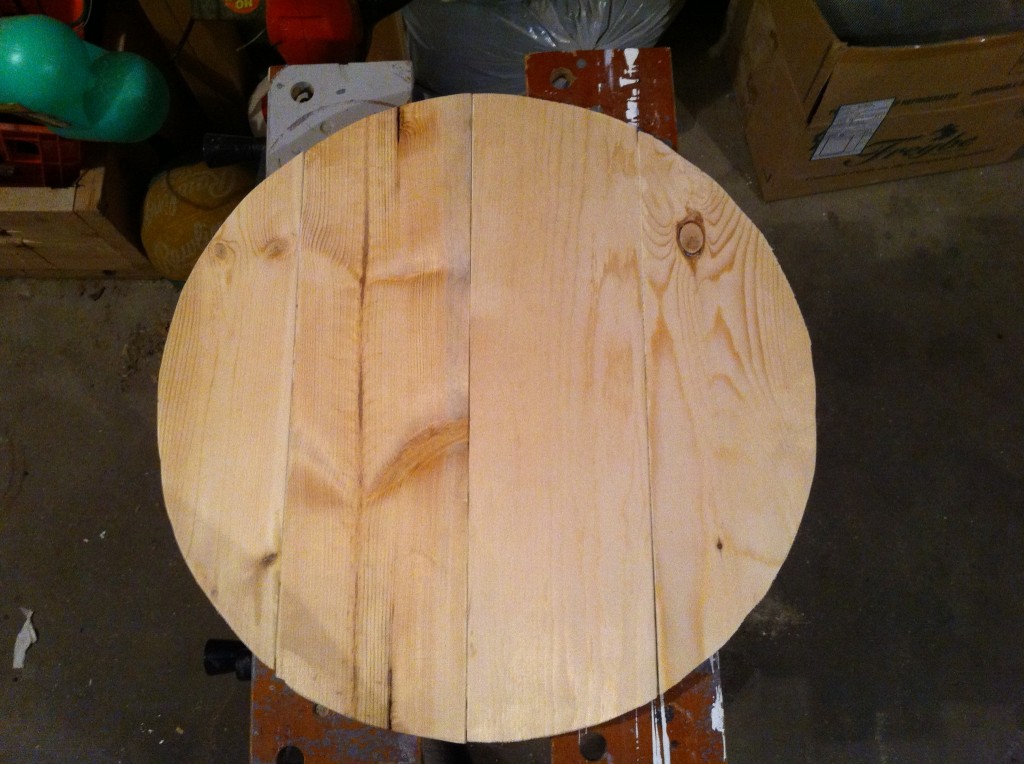
One problem with the duct tape was that the glue application was a lot messier than it would have been with clamps. Because of that I had to spend some extra time sanding and this is how it turned out at the end of the day.
There are a few things I would have done differently. I would have used dowels to help keep the planks together as well as use a table saw to cut the planks in half.
Next weekend I will be distressing the wood and then staining it. If you have any questions about what I did so far, or any suggestions for the next phase of the project, please let me know in the comments below.




I’m very interested in your project. Love the Skyrim. Can’t wait to see the finished costume.
wow !!!… beautiful! I want to see the progress !!… I am very interested, and I want to do it!