Article by: Hunter Etherington
This week I will be describing the processes I used to distress and stain the shield. This portion of the project has actually spanned two weeks but can be done in one. The reason it took more time for me is because I forgot how long it takes to stain wood. Once again the materials needed are very easy to get a hold of.
Materials:
- indoor wood stain (Ebony)
- paper towel
Tools:
- sander
- wire brush
- chisel or multicrafter (oscillating blade tool)
- paint brush
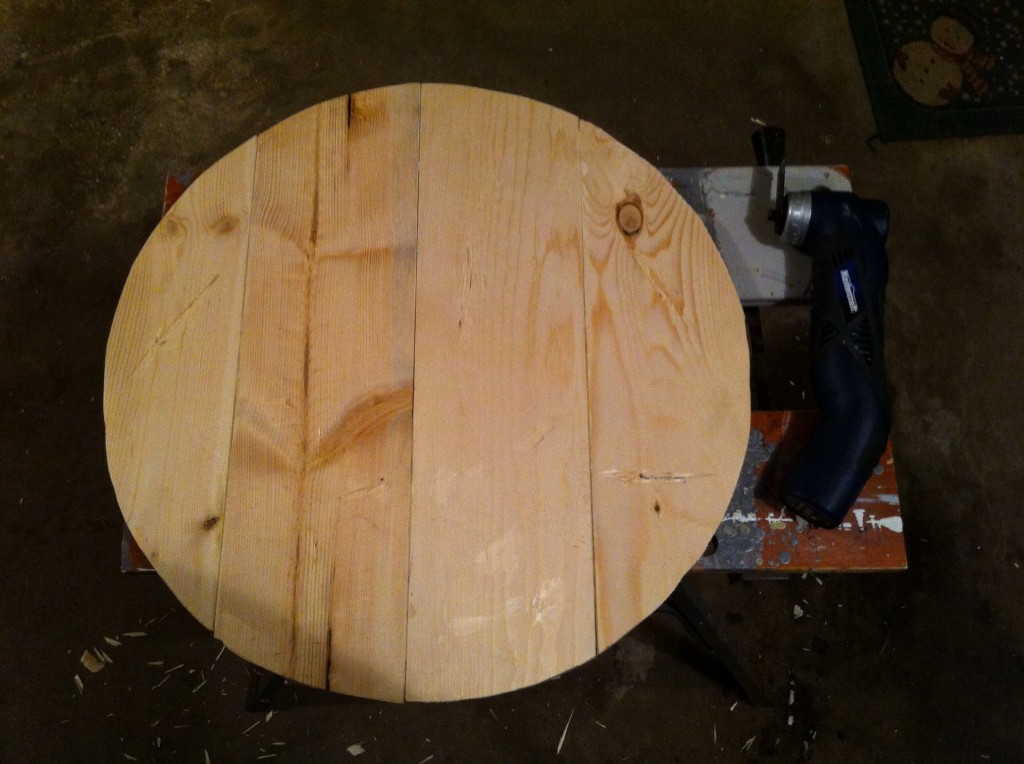
I really wanted to achieve an authentic look to the shield and to do that I had to distress it. I first attached a wire brush to an electric drill and went over most of the shield with it. In some spots I used pressure to create more texture. From there I wanted to replicate the appearance of a weapon strike. To do that I used a Multicrafter with an oscillating blade and started taking out chunks of wood.
From there I went on to staining; this is where I misjudged my time. If you haven’t done any staining, it’s a pretty simple process. The first step is to apply an even coat across the entire surface. Once that is done you have to wait for 10 to 15 minutes and then use paper towels to wipe off the excess. After it’s wiped off, it will take 4 to 6 hours to fully dry. While it’s drying it’s okay to flip it over and do the other side. Just use gloves or a paper towel to flip it and place it on a raised surface like a paint can. Repeat the steps on the back side and leave it to dry. When you come back, check if it’s as dark as you would like, if not add another coat. Repeat until you achieve the desired color. I only needed two coats and it turned out really well.
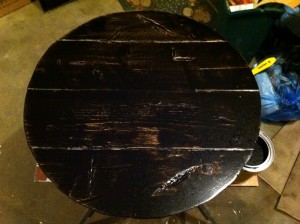
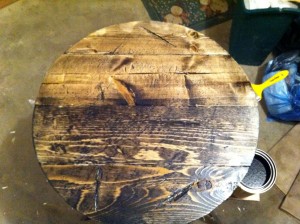
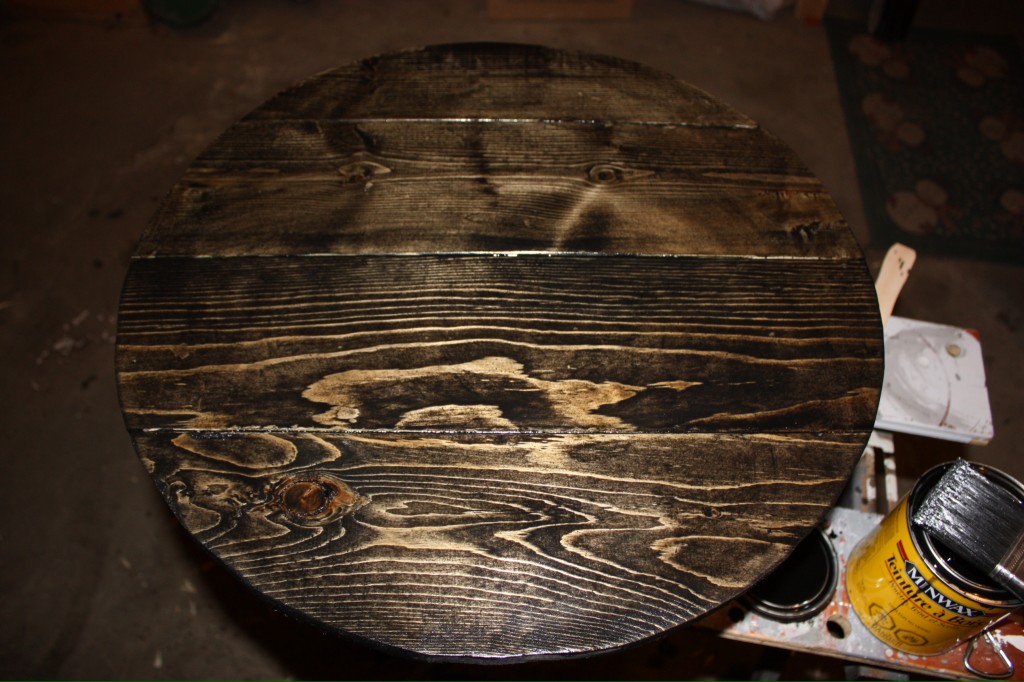
Next week I am going to paint the main yellow color and the emblem onto the front of the shield. If you need any directions clarified or have any other questions just leave a comment and I will answer you.




Wheres part 3?