Article by: Hunter Etherington
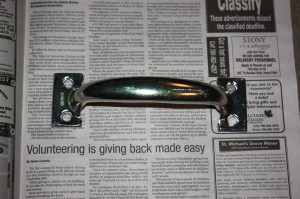
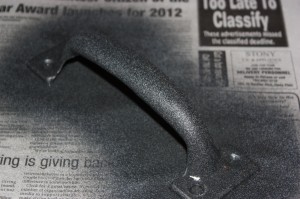
In the past two weeks I have been very busy on the project. I have painted the emblem onto the front, added banding for strength, spray painted the handle, applied pipe insulation around the edge, created wear details in the pipe insulation, and finally spray painted the edging. I will list the materials and tools I used but there are obviously other options.
Materials:
- Acrylic paints (assorted colors)
- Nylon banding
- Door pull
- Spray paint (Aged Iron)
- 3/4″ pipe insulation
- Saran wrap
- Painting tape
Tools:
- Assorted paint brushes
- Bander
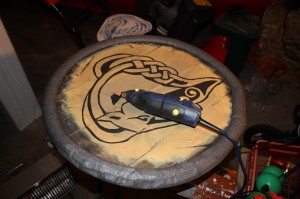
- Rotary tool
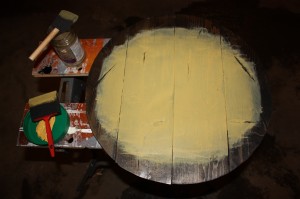
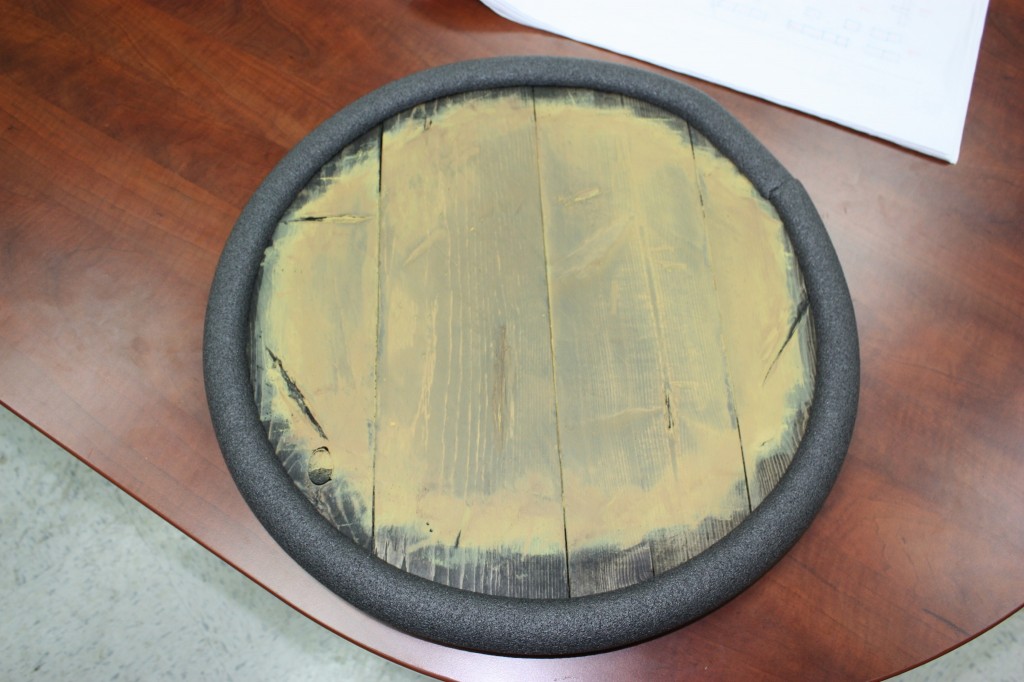
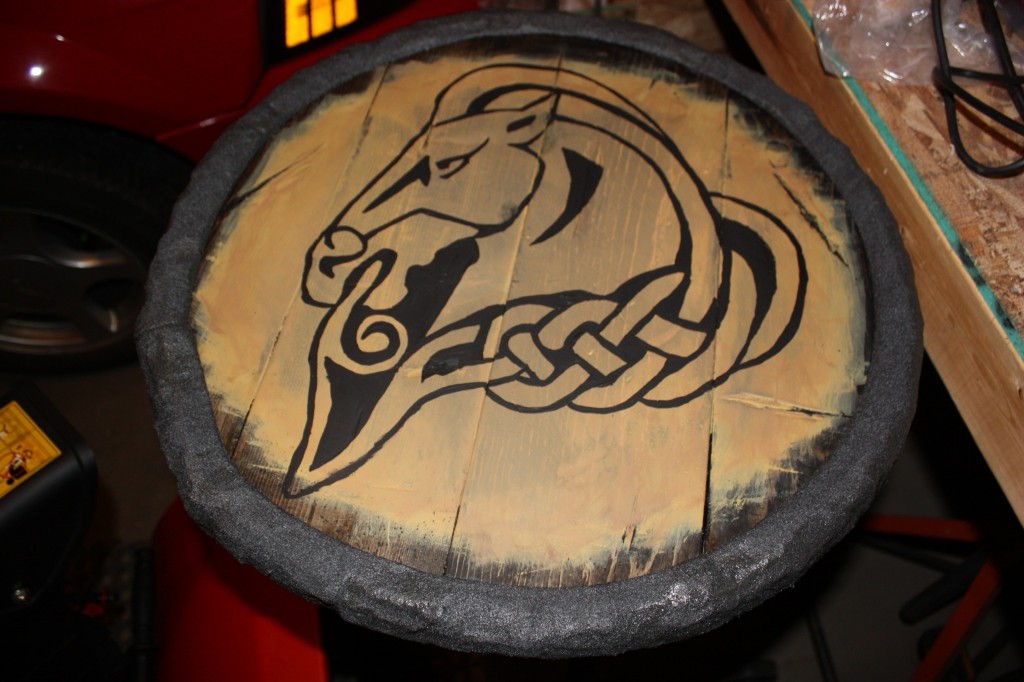
First off was the task of painting the yellow base color of the emblem. A very simple task, I started with a simple, deep yellow acrylic paint. I didn’t quite like the look of the yellow by itself so I mixed in some brown to give it an aged look.
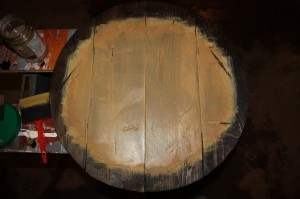
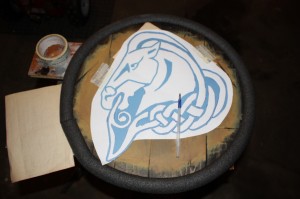
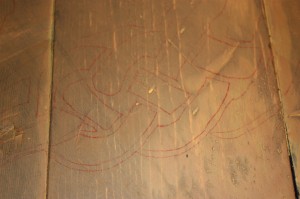
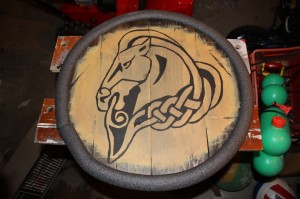
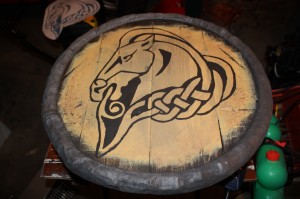
As you can see from the previous pictures, I hadn’t painted the emblem onto the yellow background yet so I used the picture I had originally taken of the shield and printed out a large version of it to trace. I cut out the shape of the horse’s head roughly with enough of a border to allow room to tape it down without covering the pattern. I then used carbon transfer paper to create a usable on the actual shield. From there my fiancé painted the pattern with black acrylic paint.
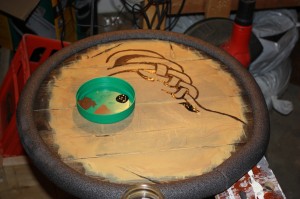
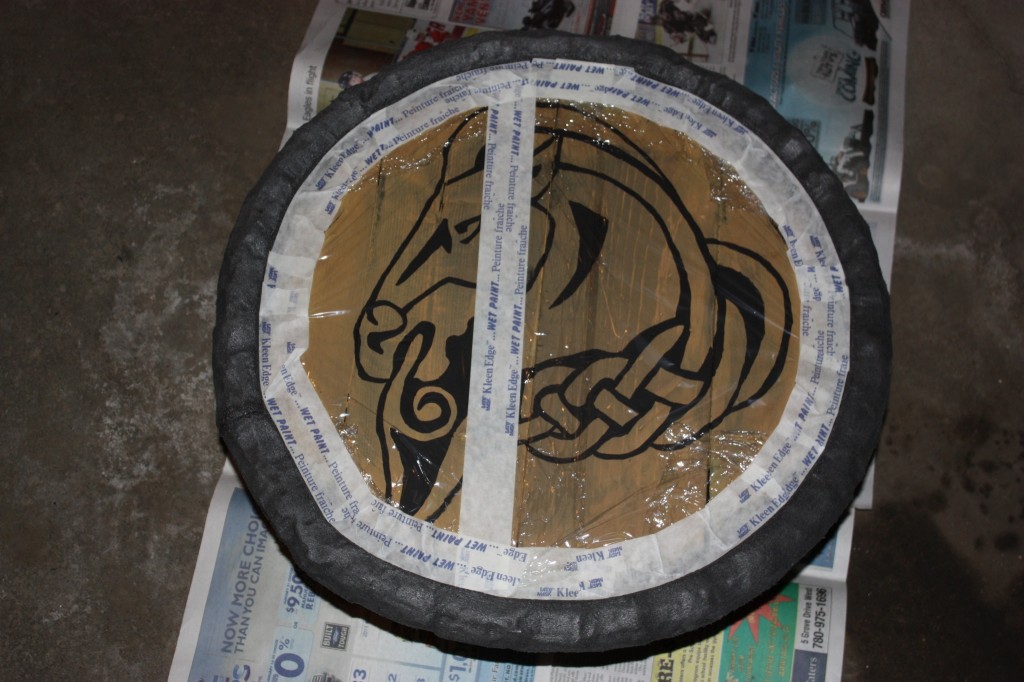
My first step in preparing it for paint was to find something to cover the back and front of the shield that wouldn’t allow paint to permeate. I probably could have used more newsprint or another paper but I was worried that some wet paint would have soaked through. Instead I used Saran wrap held down with painting tape. To start I laid my first piece onto the front of the shield and taped around the edge. I then did the same with the next piece and once I had taped the edge down I covered the seam with another piece of tape. The process for the other side is the exact same.
From there I simply laid out some newspaper and elevated the shield on a paint can and proceeded to spray paint the foam edge. When one side was done I carefully flipped it over and did the other side. I then waited about 10 minutes for the paint to be dry enough for me to smooth out any drips that I saw around the edge and remove the tape and Saran wrap. I removed the covering at that time because if there was to be any places that paint had gotten through I could fix it before it had finished drying. With that step I am nearly finished with this part of the project.




Wow! This is great work. Inspires me to make something of my own. Nice job